* Click On Photos To Enlarge *
Yesterday, I had the time to try out my DIY coat hanger wreath idea and take photos to show how to make the wreath. I bent two coat hangers into a circle shape, wrapped them together with wire and bent the top over. Yes, I know it looks weird and that's because the coat hangers were not the same size. Oh, well. I wired the two coat hangers together very well and tightly at the top.
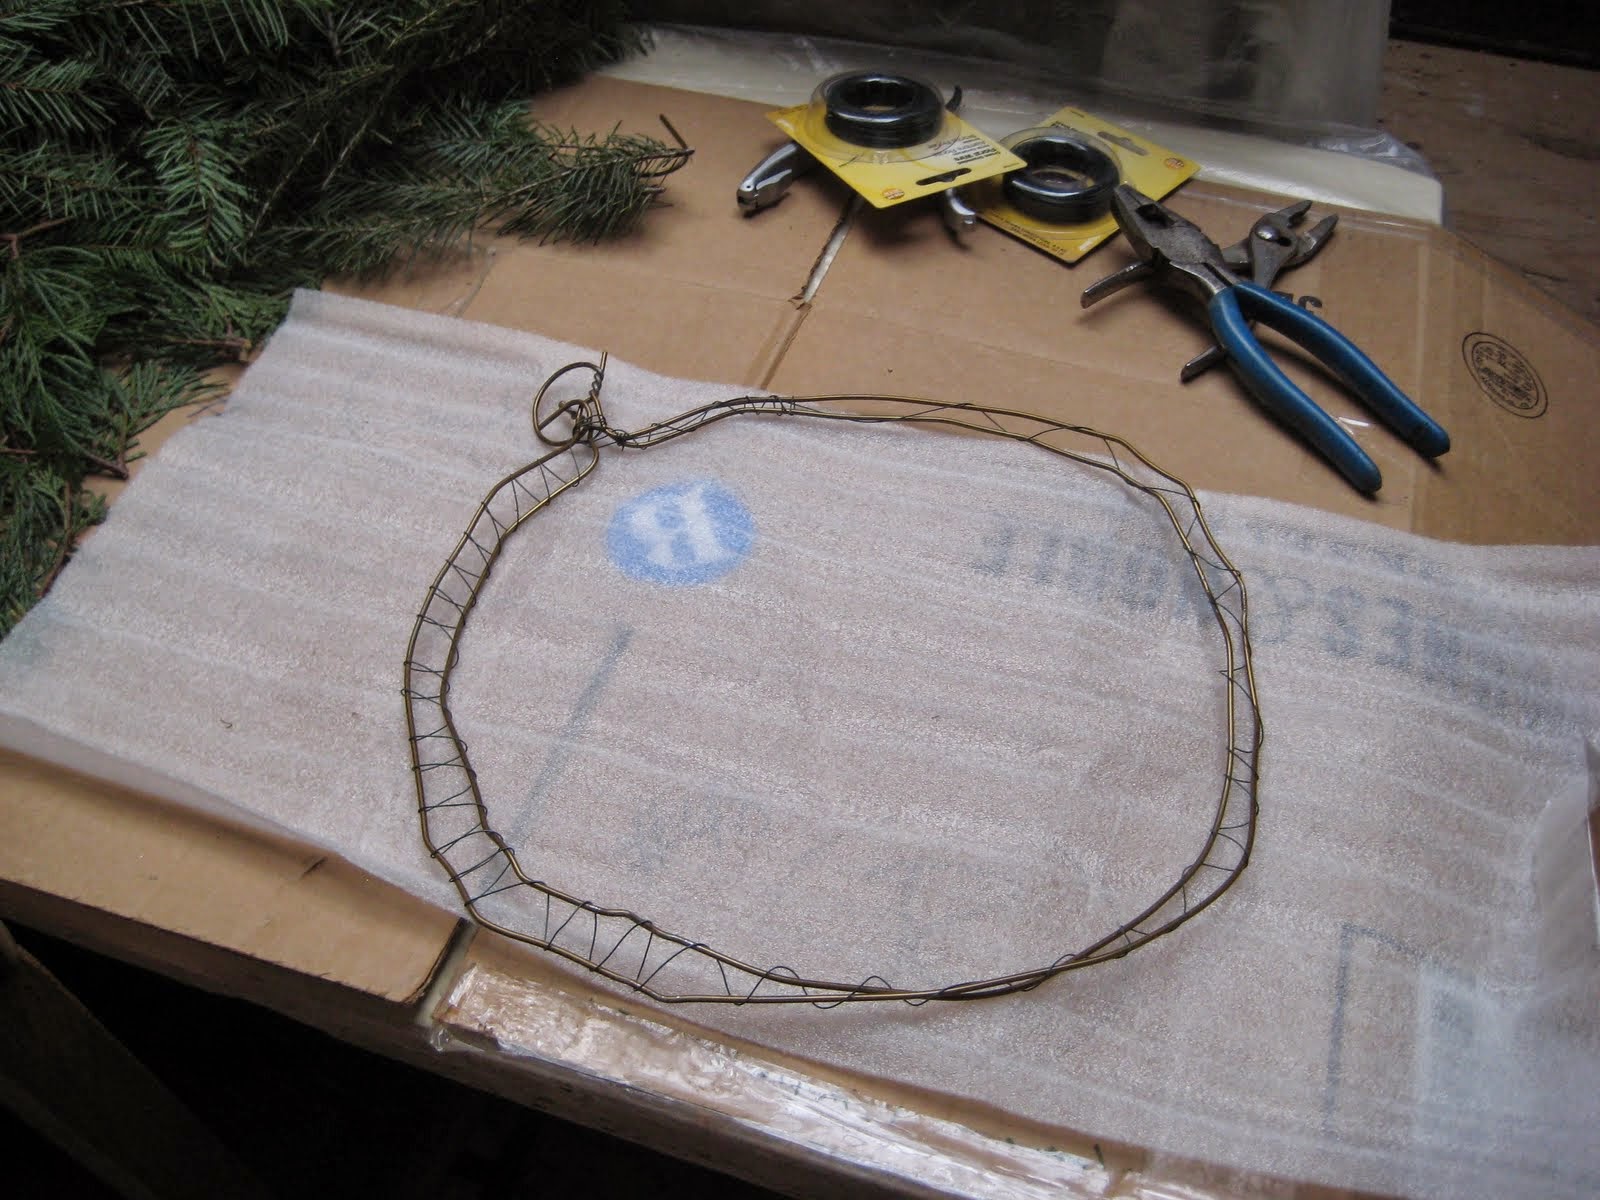
This photo shows the coat hanger base.

This photo shows how I put the bundles together. Left to right: cedar, white pine, one piece of cedar. I put the cedar on the bottom, white pine in the middle and a piece of cedar on top. You can make the bundles anyway you want.

This photo shows how I hold the bundle while I put it together. When I can just cover the fingernail on my index finger with my thumb then the bundle is fat enough. If some of the pine is too long at the bottom I clip it to match the others.

I used wire to hook each bundle together.

This photo shows the first bundle wired securely to the top of the hanger. I didn't want to worry about the bundles sliding around the base so I made sure to use a lot of wire around the bundle, base and coat hanger top hook... (the part I bent that goes over the closet pole.)

This photo shows the amount of overlap I used. I overlapped and wired each bundle securely to the next bundle and to the base. I think next time I will use a little bit thicker and stronger wire. It took a lot of this thin wire before I felt the bundles were really secure. And next time I will overlap the bundles closer together. They were a little bit too far apart this time.

This photo of the back shows how the bundles overlap.

Halfway around!

Making bundles and wiring them together and having them ready to attach to the base made the whole operation move along much easier and quicker. I will make all the bundles first next time I do this.

This photo shows the space for the last bundle
with the pine pulled back to show the base.

This is the same spot with the pine covering the base. Pull the pine back and attach the last bundle. Or... if you are going to attach a large bow, pine cones, etc., then you can leave the space and attach the decorations there. I attached the bundle here.

Yay! Finished! I took a break to visit the chickens and to throw the pine cuttings I didn't use in the chicken pen. Morgan wants the chickens to come out and play. I have a photo I''ll post tomorrow of Morgan watching the chickens. It has been raining and even snowing which means the chickens will have to stay in their pen for a few more days.

After my break, I unpacked some Christmas boxes and found some old ornaments and a bow I used to decorate my coat hanger wreath.
Next time I make one of these I will be sure to make all the bundles ahead of time, make smaller bundles, use a bit thicker wire, and place the bundles a little bit closer together.
This wreath used 12 bundles. Next year for the same size base I will try using 13 bundles. Since I will wire each bundle individually, I will be able to place them around the base and see how the wreath will look before I wire them on one by one. Well, at least I will try it out and see how it works.
Another good thing about making all the bundles at one time is that it will make it easier to tell if I'm making all the bundles the same size.
I should have done a search on Google on how to make a coat hanger wreath. I just did a search and there are a lot of sites out there with information. I haven't read any of them yet but I think I will take a look at some of them before I make my next attempt at a coat hanger wreath.
with a wire wreath base.
[3 eggs today]
Smiles
~:>
9 comments:
That is a really pretty wreath. Great job!
Oh it's beautiful! Even before you attached the ornaments and bow it was so pretty. I bet it smells wonderful! You have a genuine talent. :)
Becky's Bardyard: Thank You! I was happy the wreath came together.
Diana: Thank you for the complement. The wreath does smell like a Christmas tree.
Oh, that looks so beautiful when it is all made! But it is a lot of work isn't it! Okay. I have the trees behind me. And I think I have two coat hangers... Now to go to the store for some wire... Pliers I think Tetsu has hidden away somewhere... Will I get one made before Christmas???
Becky's Barnyard: Thank you! I had fun making the wreath.
Tanya: Thank you, Tanya. I hope you enjoy making your wreath. It's OK if you don't make it for Christmas. You can have an all-year wreath.
This looks very do-able. I plan to use the boughs from 3 shrubs that I want to remove from my garden in the spring. Good use for them!
Did you have all the bundles go in the same direction throughout?
Post a Comment